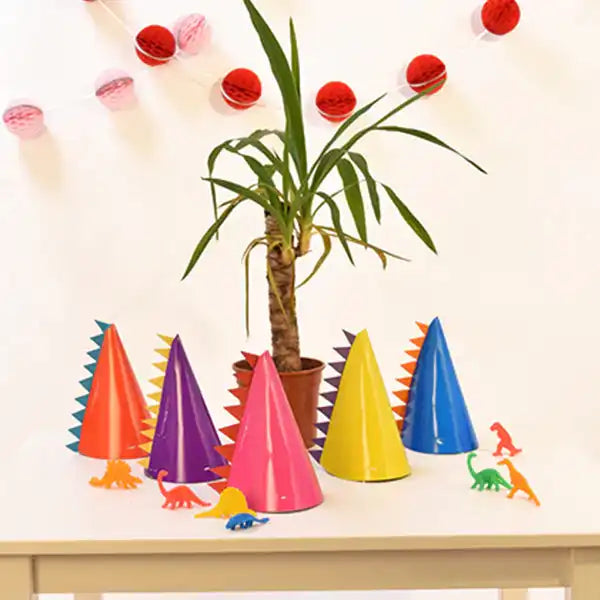
How to make dinosaur party hats

Give your basic party hats a dino twist with this super-easy transformation!
What you’ll need
For these dinosaur party hats you’ll need:
- Cone party hats in various colours
- Coloured card
- Scissors
- Glue or sticky tape
Cut Out your Dinosaur Armour
Measure the length of your party hats then cut out a long rectangle of your coloured card with a width of about 2 inches and the same length as your hat. Draw a line down the centre of the length of your rectangle and cut a zig zag down one side by cutting triangles that reach the centre.
Don’t bin the little triangles! They’re perfect for kid’s craft activities like mosaics and might come in useful later down the line!
Choose your colour combo
Now it’s time to mix and match your colours! Colours that are opposite to each other on the colour wheel look great together like orange & blue or purple and yellow. We kept to opposites apart from a fun mix of red and pink. If you’re getting the little ones involved they can choose their favourite colours to wear to the party!
Assembling your Dinosaur Hat
This is the tricky part so adult help will most definitely be needed. To assemble your dinosaur hat you first need to disassemble it without any ripping! Next score your dinosaur armour along the centre where you previously drew the line and fold your triangles over.
Once you’ve done this you need to tape or glue your dino armour to the inside of the outside edge of your hat, this will probably be the edge with the card tab as this sits on the outside. Cut the tab off and make sure you stick the armour so the spikes are pointing outwards and the rest of the armour is stuck to the hat. When looking at your hat you should only be able to see the spikes of the armour. Finally bring the other edge of the party hat round and tape, staple or glue both sides together.
If this part sounds a little confusing, don’t hesitate to leave us a comment and we can help you! Good luck!